

4 Simple Steps for a Joyful Ubuntu VM Setup on VMware
Table of Contents
- Step 1: Download Ubuntu
- Step 2: New Virtual Machine Wizard Walkthrough (VMware)
- Step 3: Installing Ubuntu on VMware
- Step 4: First Login and Basic Network Setup
- Conclusion
If you’re just starting out with security tools, chances are you’ve already faced the first big question: “How do I even set them up on my system?” Don’t worry — you’re not alone. Almost every beginner gets stuck right here.
That’s why I’m putting together this complete step-by-step series. We’ll start simple — setting up Ubuntu on a virtual machine (VM) — and then move on to real security tools like Wazuh, TheHive, and Cortex. By the end, you’ll have your own mini security lab running, ready to practice and learn.
For this tutorial, I’ll be using VMware. In my opinion, it’s the most stable and beginner-friendly option for creating VMs. The best part? You can experiment freely inside a VM without breaking your main system.
Now, why Ubuntu? Good question. Most modern security tools are designed for Linux/Unix environments, and Ubuntu is one of the most popular, stable, and well-supported Linux distributions. In other words, if you want to dive into cybersecurity tools, Ubuntu is the perfect starting point.
So, let’s begin with the very first step: setting up Ubuntu on VMware.
Step 1: Download Ubuntu
The first step is to download the Ubuntu operating system. Head over to the official Ubuntu download page here:
Download Ubuntu Desktop
For this tutorial, I’ll be using Ubuntu 24.04.3 LTS because it’s the latest stable long-term support (LTS) release. LTS versions are more reliable, secure, and bug-free compared to non-LTS releases, which makes them perfect for building a security lab.
🔑 Note: If a newer LTS version is available in the future, feel free to use that instead. Always go with the latest stable LTS release.
When downloading, choose the ISO file that matches your system architecture:
-
Intel or AMD 64-bit (x86_64): This is the most common option for desktops and laptops (works for both Intel and AMD CPUs).
-
ARM (Apple Silicon, Raspberry Pi, etc.): Only needed if your device runs on ARM-based processors.
Since I’m using an Intel machine, I’ll download the 64-bit ISO for Intel/AMD.
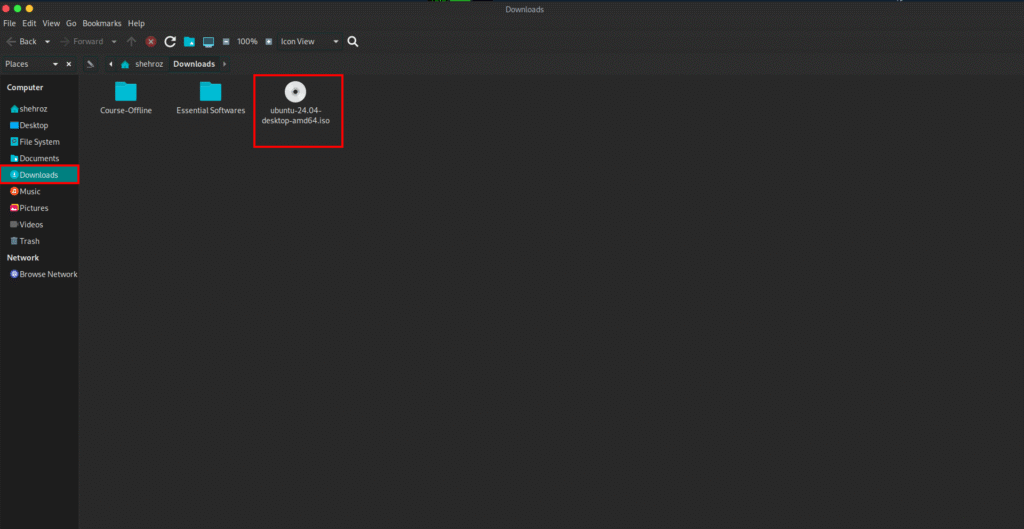
Once the ISO is downloaded, keep it safe — we’ll use it in VMware to set up our virtual machine in the next step.

As you can see, the Ubuntu 24.04.3 LTS ISO file has been downloaded successfully and is now ready to be used in VMware.
Now open VMware.
-
Go to the File menu and select Create a New Virtual Machine,
or simply click the “Create a New Virtual Machine” box shown on the home screen. -
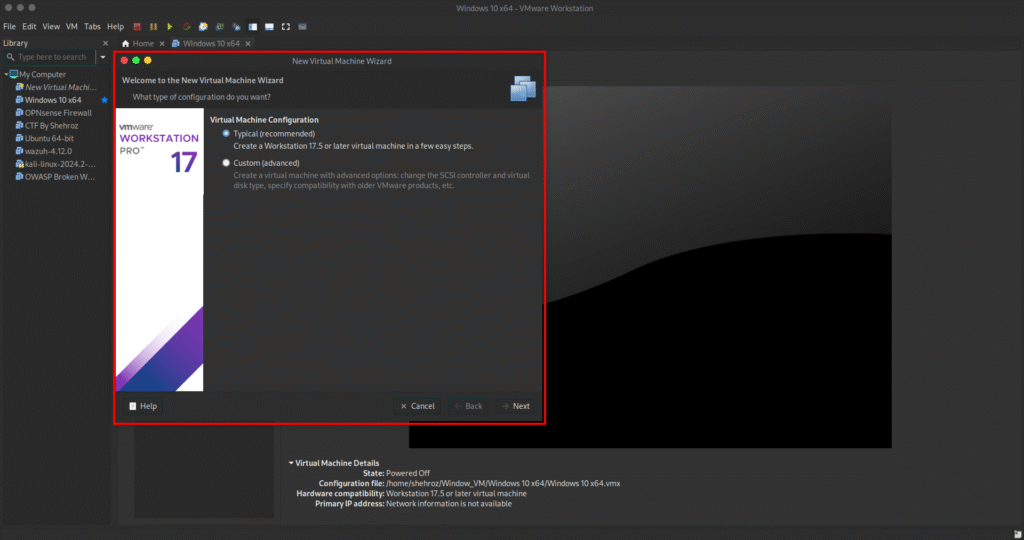
As soon as you click, the New Virtual Machine Wizard window will appear.
-
In this window, choose Typical (recommended) configuration to continue.
Step 2: New Virtual Machine Wizard Walkthrough (VMware)
After selecting “Typical (recommended)” configuration, click Next.
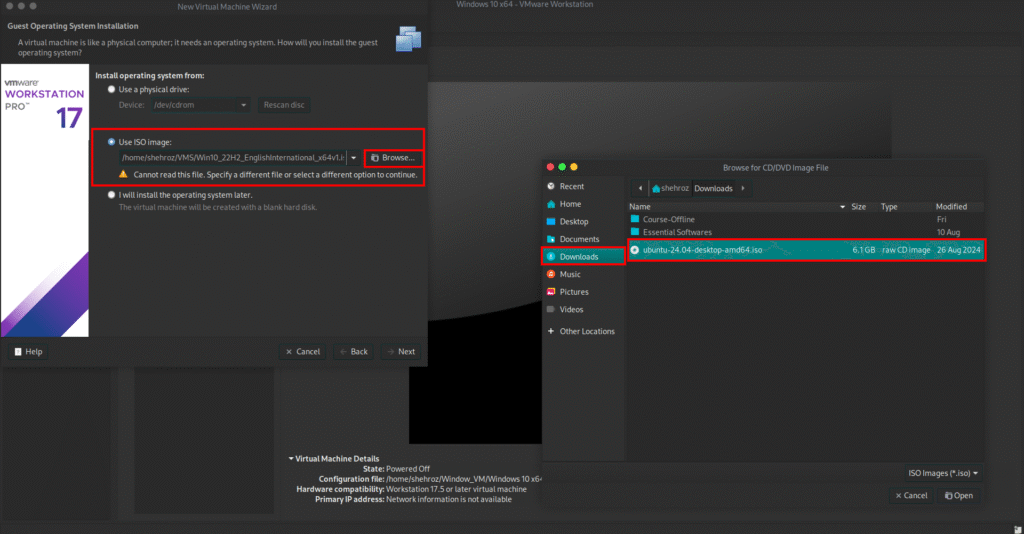
On this page, VMware gives you three installation options:
-
Installer disc (physical drive) – Use a bootable CD/DVD. (Not common these days.)
-
Installer disc image file (ISO) – Use an ISO file you’ve already downloaded.
-
I will install the operating system later – Create an empty virtual machine first, and install the OS manually later.
My opinion on Option 3: This is useful if you just want to create a VM with the right hardware settings first (CPU, RAM, disk space), and install the operating system later. Advanced users often prefer this for flexibility.
But since we already downloaded the Ubuntu 24.04.3 LTS ISO, we’ll go with Option 2 (Installer disc image file).
-
Click Browse
-
Select the Ubuntu ISO you just downloaded
-
Then click Next to continue.
After selecting the ISO image and clicking Next, the wizard will ask you to set up the following:
-
Full Name – Your display name inside Ubuntu
-
Username – The account username you’ll log in with
-
Password – Choose a secure password (you’ll use this often, especially when running commands with
sudo)
Enter your details, then click Next to continue.

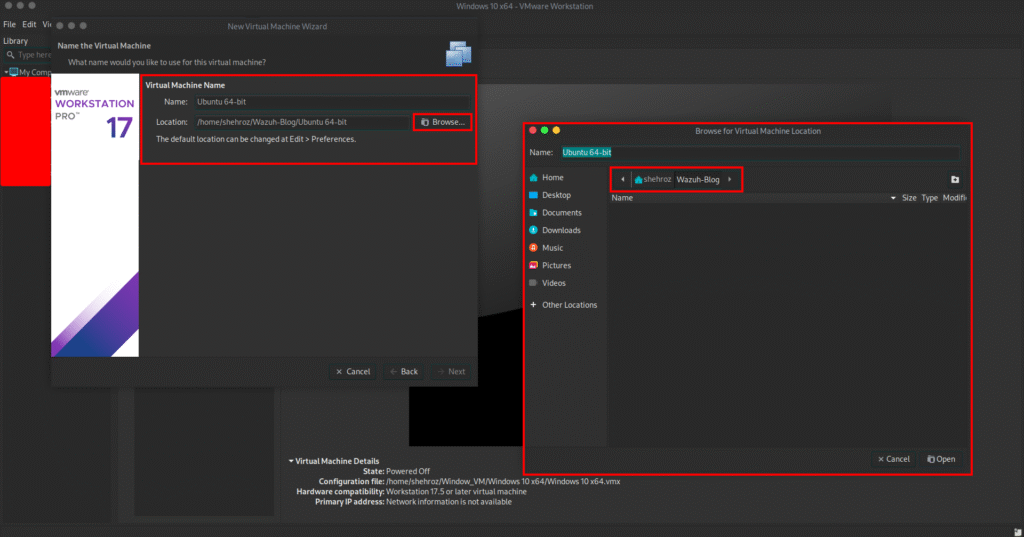
Next, the wizard will ask you to name your virtual machine and choose a storage location.
-
By default, VMware saves new virtual machines in:
C:\Users\YourName\Documents\Virtual Machines -
While this works, I don’t recommend keeping your VM on the C: drive.
-
Why? Because the C: drive usually has your Windows OS and system files.
-
Running a VM from C: can slow down your system and eat up free space very quickly.
-
Best Practice: Store your VM on another drive (like D: or E:) where you have more space. This keeps your main OS running smoothly and avoids performance issues.
Once you’ve chosen the location and given your VM a name (e.g., Ubuntu 24.04 Wazuh Lab), click Next.
On the next page of the wizard, you’ll set the disk size for your virtual machine.
-
The recommended minimum is 20 GB, but you can adjust it based on your system resources.
-
In my case, I gave the VM 30 GB to have extra space for tools and updates.
Below the size settings, you’ll see two options:
-
Store virtual disk as a single file
-
This means the entire VM disk will be saved in one large file.
-
It can be slightly faster in performance, but moving or copying the VM becomes difficult because of the huge file size.
-
-
Split virtual disk into multiple files
-
The virtual disk is divided into smaller files (e.g., 2GB chunks).
-
This makes it easier to copy, move, or back up the VM, especially on systems with file size limits.
-
I recommend this option for beginners because it’s safer and easier to manage.
-
Select Split virtual disk into multiple files, then click Next to continue.

Finally, the wizard shows you a summary of all the settings you’ve chosen.
Here you can review your configuration before creating the VM.
-
By default, VMware assigns 4 GB RAM to the VM. If you want more or less, click Customize Hardware and adjust the Memory slider.
-
You can also change the Network Adapter settings:
-
Default is NAT (your VM shares the host’s internet connection).
-
You can also switch to Bridged mode
-
For a detailed explanation of NAT vs Bridge mode, check out this guide:
NAT vs Bridge Network in VMware
-
At the bottom of this page, you’ll also see an option:
“Power on this virtual machine after creation.”
-
If you want VMware to automatically start the VM right after setup, leave this checked.
-
If you prefer to manually power on later (for example, if you plan to add the ISO or tweak hardware before starting), uncheck this option.
Once everything looks good, click Finish to create your virtual machine.

Step 3: Installing Ubuntu on VMware
When the virtual machine powers on, Ubuntu will boot from the ISO image you attached. You’ll see the Ubuntu installer wizard with the following steps:
- Language Selection: Choose your preferred language (commonly English) and click Next.
- Accessibility Settings: Ubuntu offers accessibility features like screen reader, large text, or high contrast. If you don’t need them, just click Next.
- Keyboard Layout: Select your keyboard layout (default is English (US)). You can test typing in the box to confirm, then click Next.
- Internet Connection: By default, VMware assigns a wired connection (NAT or Bridge), which usually connects automatically. Leave it as is and click Next.
- Updates & Other Software: Ubuntu may check for updates. For faster installation, skip updates for now (you can update later).
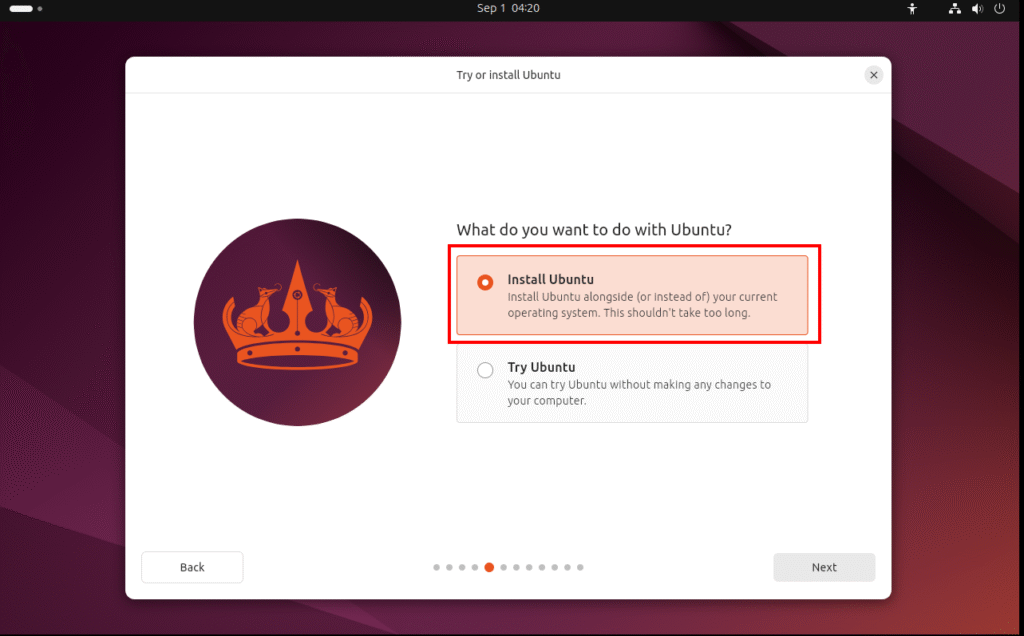
- Installation Type (Important): You’ll see two options:
- “Try Ubuntu” → Runs Ubuntu temporarily from the ISO without saving changes (useful for testing only).
- “Install Ubuntu” → Installs Ubuntu permanently on your virtual disk, so changes are saved.
For this tutorial, select Install Ubuntu.
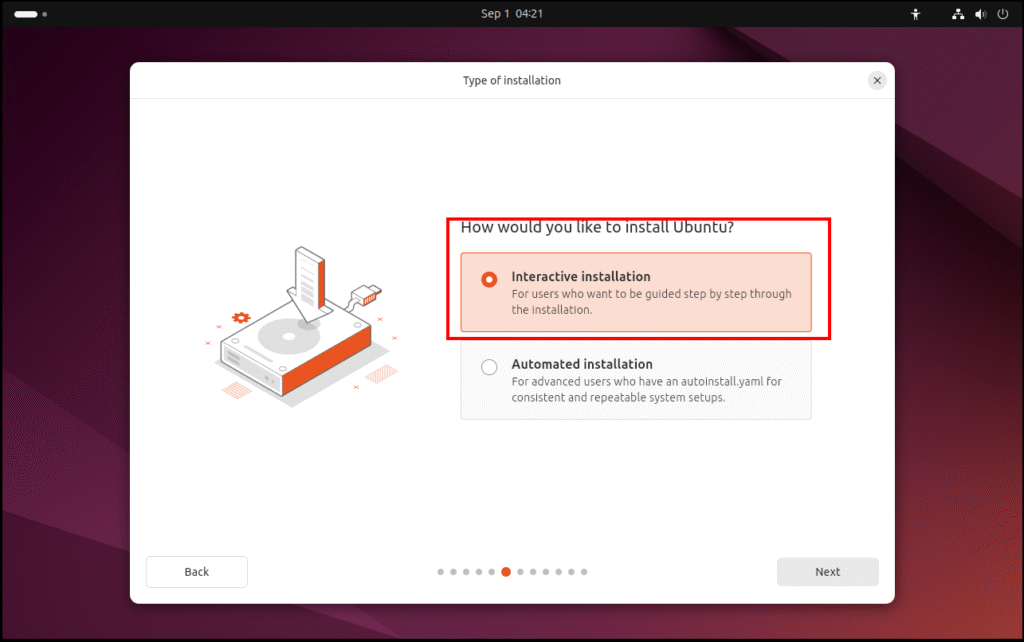
The next page asks whether you want an Interactive Installation or Automatic Installation.
Choose Interactive Installation because it gives you full control over the setup, while Automatic may skip important customizations needed for your lab.
After completing all the wizard steps, keep most settings at their default values — since we only need a fresh and simple install, advanced options aren’t necessary.
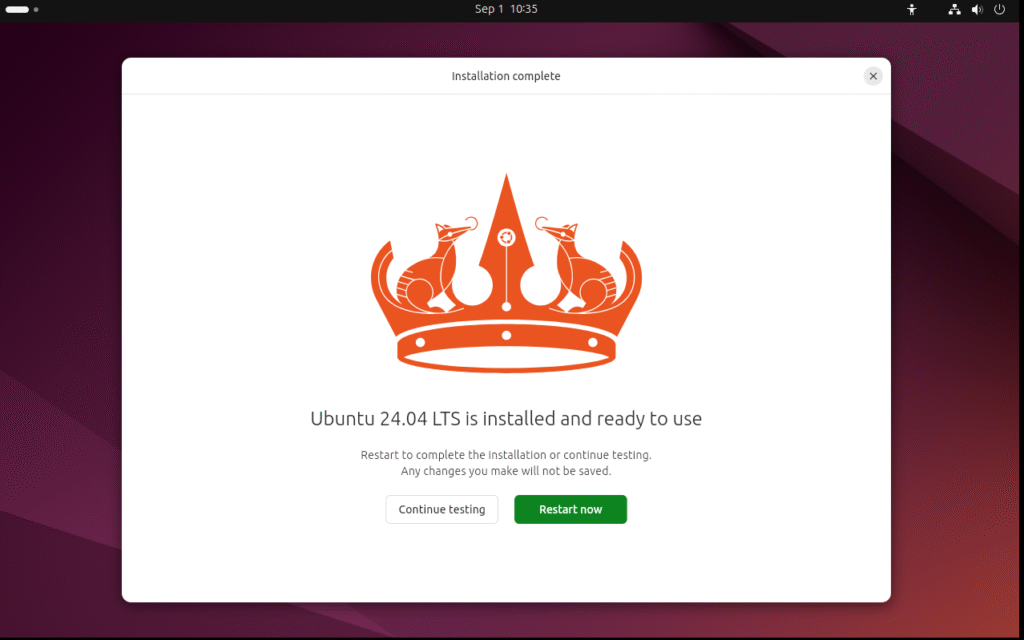
Click Next and finish the wizard. Ubuntu will now automatically download the required files, apply your settings, and complete the installation.
When everything is done, you’ll see a Reboot option. Click it to restart your VM and boot into your newly installed Ubuntu system.
Step 4: First Login and Basic Network Setup
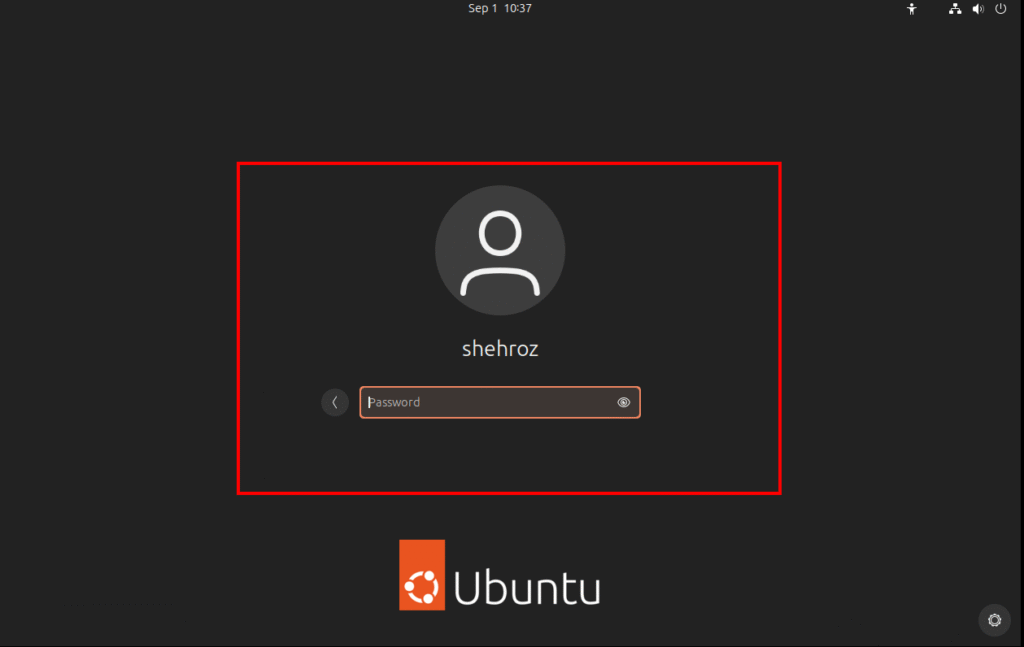
After the reboot, Ubuntu will show you the login screen. Enter the username and password you created during the installation wizard. Once you press Enter, you’ll be taken into your new Ubuntu desktop.
Next, right-click anywhere on the desktop and select Open Terminal. Let’s try checking the network settings with the command ifconfig. However, on newer Ubuntu versions, you’ll notice that the command doesn’t work by default.
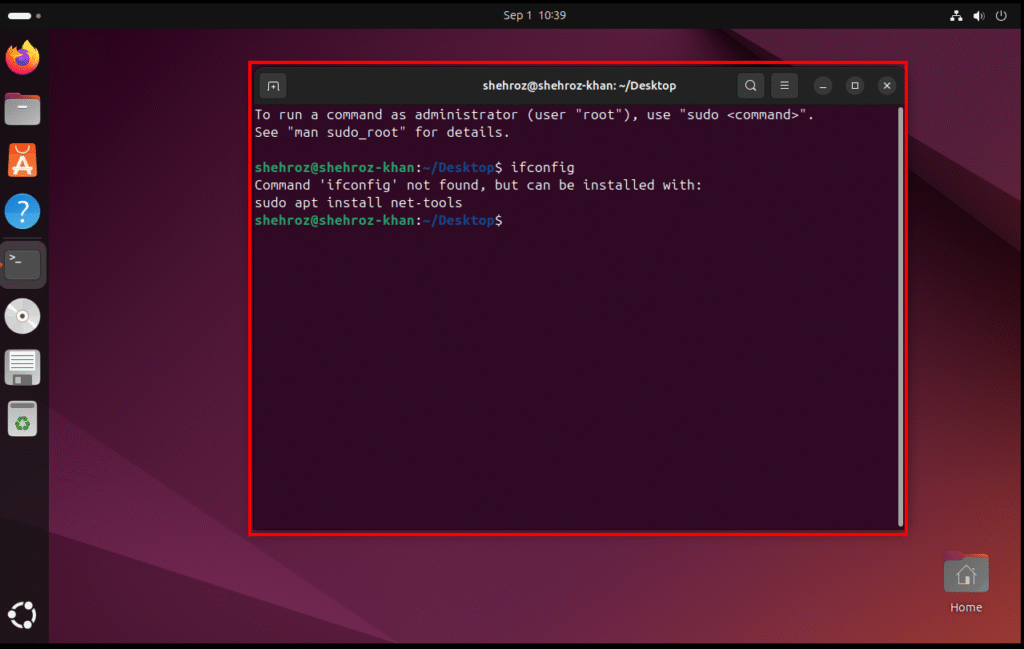
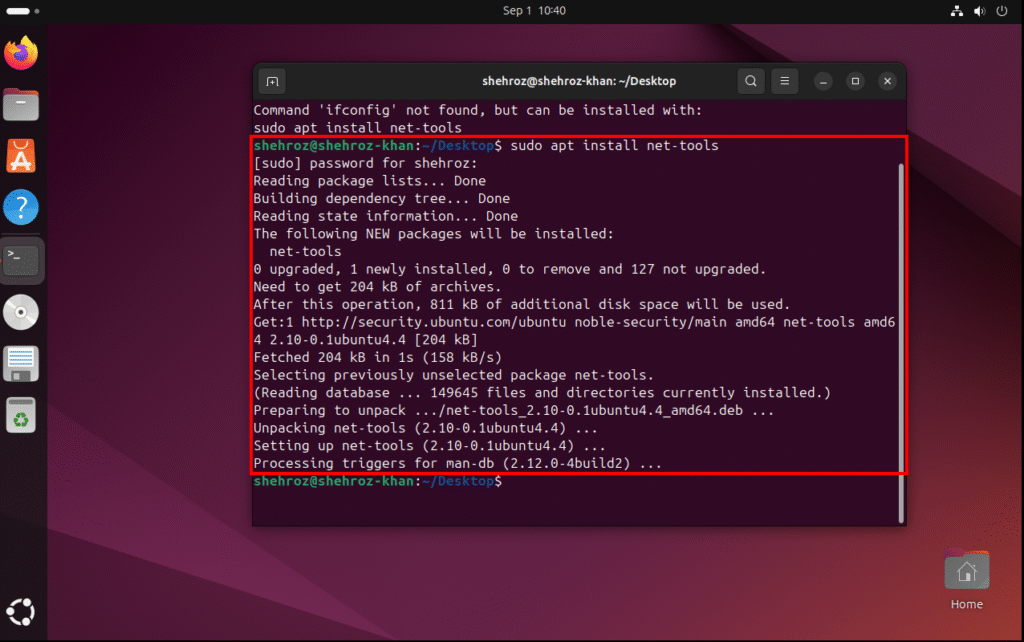
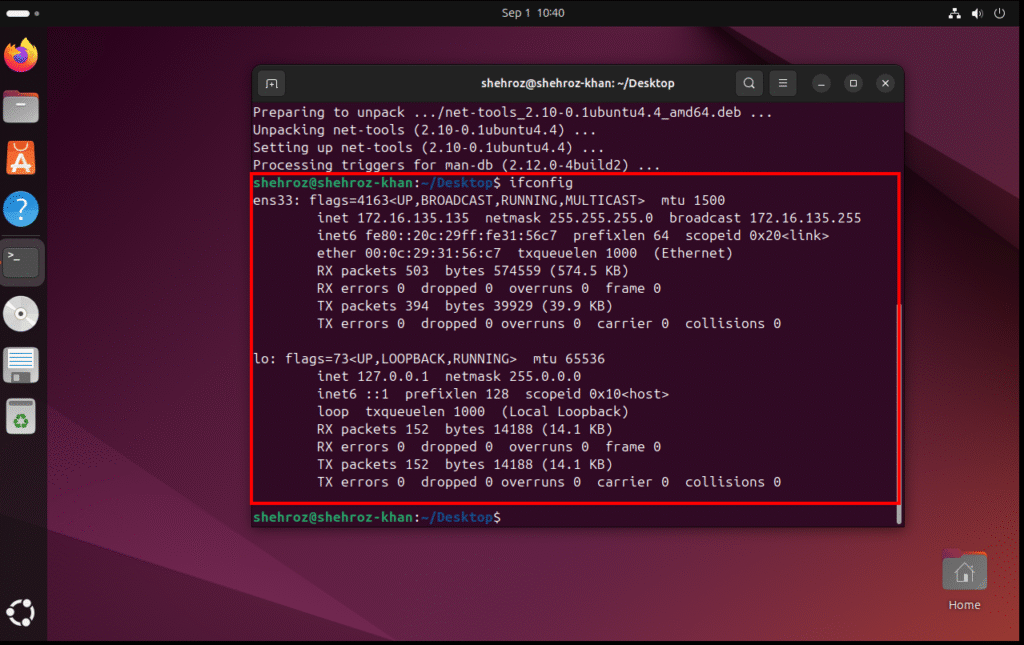
This happens because the package that includes ifconfig (called net-tools) is not installed automatically. To fix this, run the command sudo apt install net-tools. After installation completes, you can run ifconfig again, and this time it will work, showing you the network configuration of your Ubuntu VM.
Conclusion
In this tutorial, we successfully set up Ubuntu on VMware — starting from downloading the ISO, creating a virtual machine, walking through the installation wizard, and finally logging into Ubuntu with some basic network setup. This is the first and most important step toward building your own cybersecurity lab, where later we’ll configure powerful security tools like Wazuh, TheHive, and Cortex.
Stay tuned! In the upcoming blogs, we’ll continue this journey step by step, so you can follow along and build a complete security monitoring and incident response environment on your own system.
If you found this guide useful, make sure to check back regularly — new content is on the way!